
(L to R) MLD eVent Rain Mitts; Montbell Chameece Inner Gloves; Outdoor Research PL 400 Sensor Mitts | My three-layer system of choice when hiking in temps between freezing and -18°C (0°F).
Your hands, head, and feet constitute your body’s initial warning system when temperatures start dropping. Due to their high surface area to mass ratio, these are the places that you are likely to feel the cold first.
You may be decked out in the puffiest of down jackets and pants, but if your extremities aren’t properly protected, chances are you will be sorrier than a steer in a stockyard. In the event that these areas are exposed to extreme cold for an extended period, you run the risk of incurring frostnip or frostbite.
Layering System for Hands
When it comes to keeping my hands comfortable in freezing conditions, I take the same approach as I do to my overall clothing system – layering. I usually opt for a three or four-tier combination, as opposed to a single thick or bulky layer. The reason? Adaptability.
Over the course of a multi-day winter or shoulder season backpacking trip, it’s not uncommon to encounter a relatively wide range of conditions. By having a versatile system, you maximize your chances of staying comfortable irrespective of what Mother Nature throws at you. Layers can be removed or added according to the weather and/or exertion level at any given time.
In regards to fit, while it’s a good idea not to have your gloves and mittens too snug (i.e. a little air space will help to keep your hands warm), at the same time you also don’t want to have them too loose. A degree of dexterity is very important when backpacking for extended periods in well below freezing temps. Activities such as cooking and setting up and taking down camp, are significantly more difficult if you are dealing with big and flappy gloves.
Ok. Let’s break this hand layering business down into the same standard categories that most hikers use when it comes to their general clothing system: Base, Insulation, and Outer Layers.
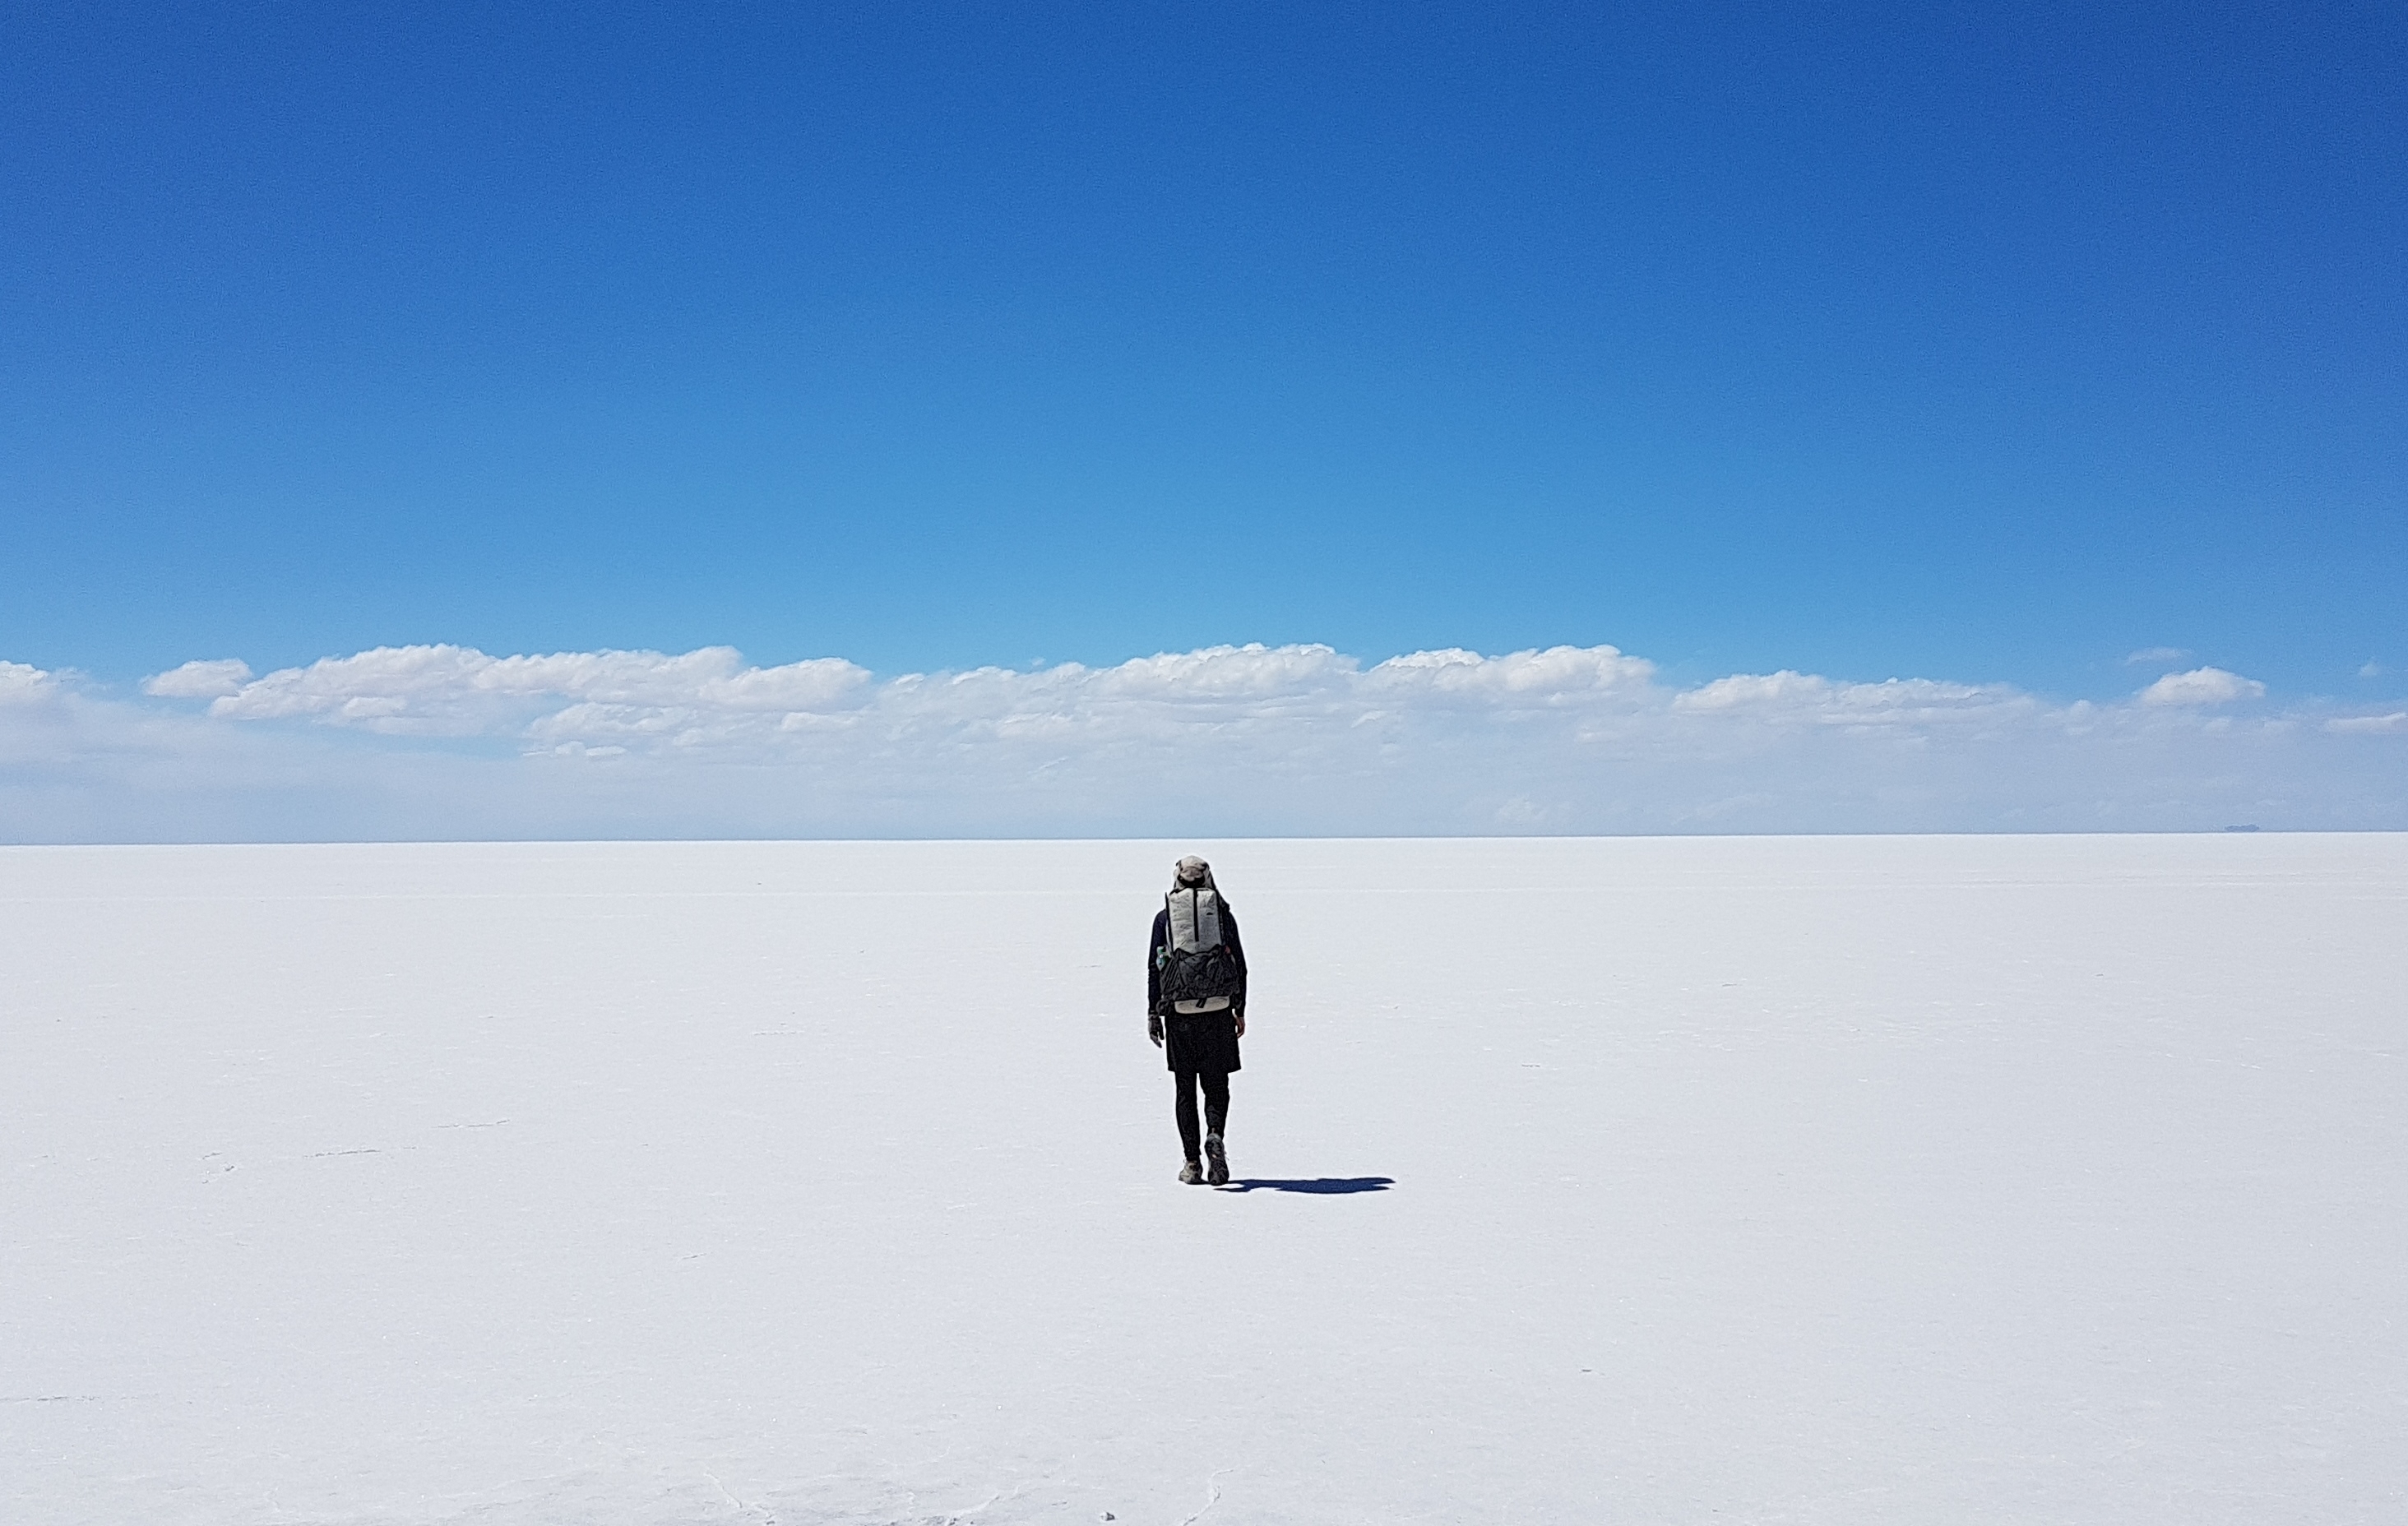
During my 650 km (404 mi) route through Bolivia’s windswept Altiplano (2017), temps ranged between 15°C (59°F) and -18°C (0°F). A versatile layering system for my hands (as well as the rest of my body) was one of the keys to staying comfortable throughout the trip.
Base Layer
Over the years I’ve used thin liner gloves made of polypropylene or merino wool. They are breathable, weigh next to nothing (usually around 1-1.2 oz), dry quickly, and can be used on their own when the temperatures aren’t too cold. The one caveat with these gloves has always been durability. In some two decades of wearing liner gloves, I’ve never found a pair that lasted more than a couple of months of regular use before holes start to develop.
In recent times, I’ve used Merino liners from Montbell, but other companies such as Smartwool, Icebreaker, and Ibex make similar products. If you’re looking to save some cash, you can buy slightly heavier wool versions (1.5 oz a pair; Pmags.com recommended) at Army Surplus stores for less than half the price of name brands.
(Update – December 2017: Stop the presses. On my recent trip to Peru and Bolivia, I tried out a pair of Chameece Inner Gloves from Montbell. Over a two month period, I wore these featherweight (26 g / 0.9 oz) fleece gloves constantly, and they took a particular beating while rock scrambling and descending multiple scree slopes in the Cordillera Real. By trip’s end they still looked brand new. The best liners that I have worn; and it’s not even that close. Second Update – As of November 2019, the same pair of Chameece Inner Gloves are still going strong!).

Liner Gloves in Colombia’s Sierra Nevada del Cocuy (2015).
Insulating Layer
Wool, fleece, or down mittens are a good choice as your insulating layer in cold temps. Mittens tend to be warmer than gloves as your fingers generate more heat when bundled together. If it turns out to be chillier than expected, you can always add your sleeping socks as an extra layer.
Depending on the conditions, over the last few years, I have swapped and changed between Smartwool Cozy Mittens (weight: 2.3 oz) and the Outdoor Research PL 400 Sensor Mittens (weight: 2.9 oz – used in colder temps) for my insulating layer.
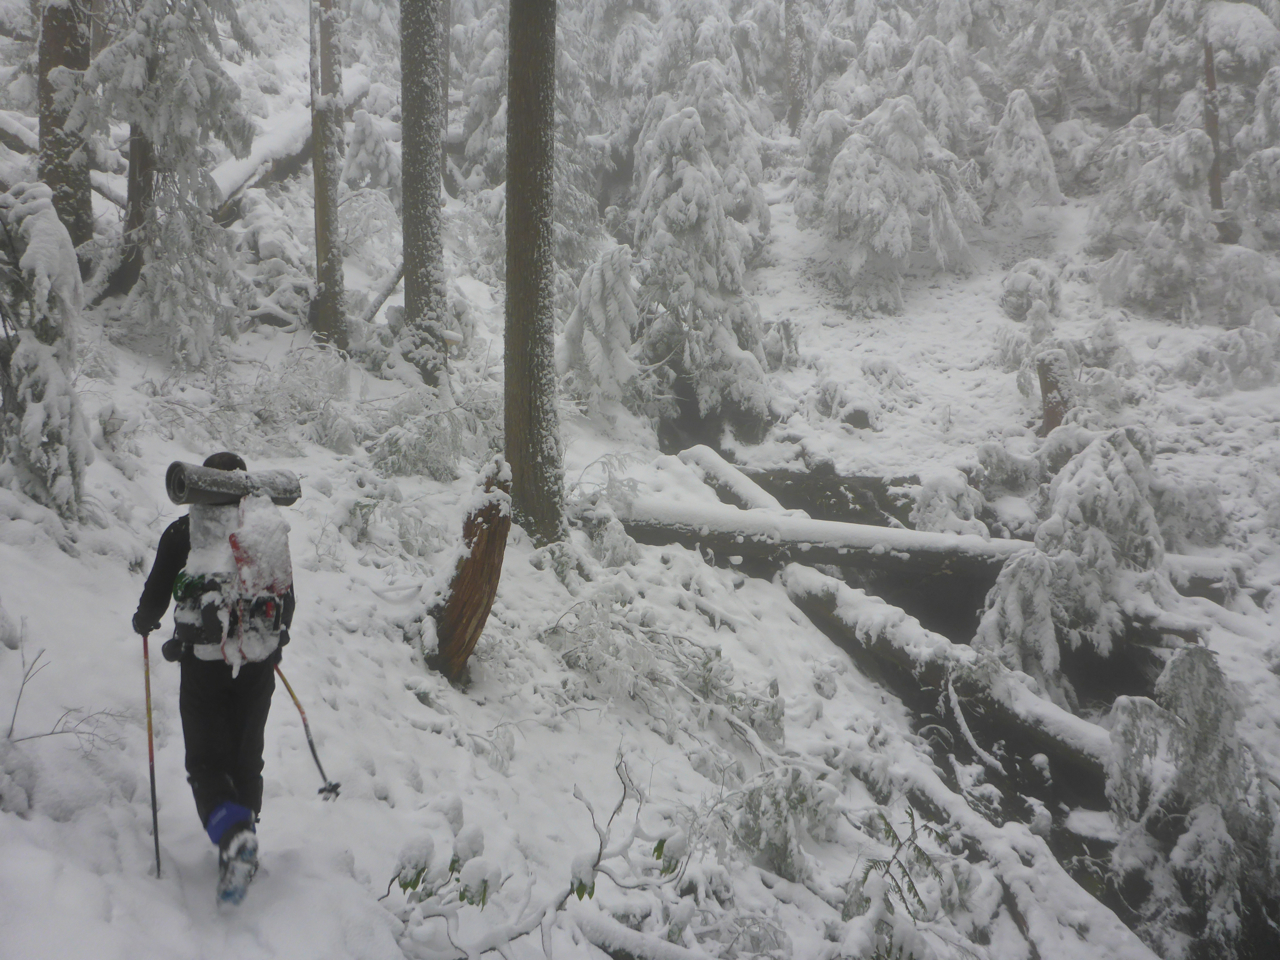
Into the gloaming | Snowshoeing in Oregon, January, 2016.
Outer Layer
I generally use MLD eVent rain mittens, which are lightweight (1.2 oz), quick-drying, and provide reasonable wind and rain protection (Note: As with all breathable “waterproof” garments, they will wet out with extended exposure to inclement conditions). Since 2008, I have carried these mittens on virtually all of my backcountry trips, irrespective of the season.
Tip: One of the things I like most about this system is that all three layers dry relatively quickly. Indeed, I have found that if any layers have gotten wet during the course of the hiking day, all I need to do is put them underneath my beanie or down my long johns at night, and they are pretty much 100% dry by the time I wake up the following morning.

Layered up in Wyoming’s Wind River Range | Late September 2016.
Extra Layer: Plastic Disposable Gloves
I often carry Plastic Disposable Kitchen gloves when backpacking. They weigh practically nothing (0.1 oz tops) and I prefer them to the Latex or Nitrile models, which I find to be a bit fidgety getting on and off in cold and wet conditions.
I use Plastic Disposable gloves in the following two ways:
- In freezing rain, I’ll wear them over the liner gloves and under the MLD Rain Mitts. In such a scenario even if the outer layer gets soaked, my liners stay relatively dry.
- When temps are well below freezing, they can be useful as a Vapor Barrier Liner (VBL). Once again, I’ll use them over the merino base layer, and under both the insulating mittens and the eVent outer layer. Some hikers use them directly against the skin, however, personally I’ve found that my hands tend to get a bit clammy when employing this method.

Summary
When it comes to layering systems, whether it be for your hands or clothes in general, ideally your selections should complement one another. Each layer working together as part of a flexible system designed to minimize duplicity and maximize efficiency.
The versatile combination I describe above weighs in at between 5 and 5.6 oz (142 – 159 grams), and has an overall cost of just over US$100 (as of November 2019). It has served me well in both freezing rain, as well as heavy snow and temperatures down to 0°F (i.e. -18°C).
Disclaimer: This post contains some affiliate links, which means ‘The Hiking Life’ receives a small commission if you purchase an item after clicking on one of the links. This comes at no additional cost to the reader and helps to support the website in its continuing goal to create quality content for backpackers and hikers.
Great advice!!!
I must admit, the tip of putting wet gloves down my long johns overnight made me chuckle…….I think I may look at alternatives to that one!
great information, thank you. after being out in 15°f over the weekend with base/insulating layers and still nearly frozen fingertips, I will definitely bring some extra layering socks and an outer shell next time!
Good call. The mitts do run a bit large. I think for folks that are generally “in between sizes”, it’s best to size down.
Great article with targeted layering and diverse situational experience. Mahalo.
Plastic bag on the outside of a hand layering system, place a rubber band around each wrist. It also helps one to remember to turn the water off the wash machine before a 3000 mile international hike.