From the lowest spot in North America to the highest point in the contiguous United States. The Lowest to Highest Route takes the hiker from Death Valley (280 ft below sea level) to the summit of Mt.Whitney (14,495 ft), via a combination of trails, lightly used 4WD tracks and cross country travel. It is a journey marked by extremes and contrasts rather than trail signs. Whether you are talking about elevation, ecosystems or temperatures, “change is seemingly the only constant on the Lowest-to-Highest. Perhaps nowhere else on earth can a person so quickly travel on foot between markedly contrasting environments.” (Brett Tucker, founder of the L2H).
I hiked the Lowest to Highest Route in April, 2014. All information has been updated as of March, 2019. The L2H is featured in Wanderlust: Hiking on Legendary Trails, my first book with Gestalten Publications.
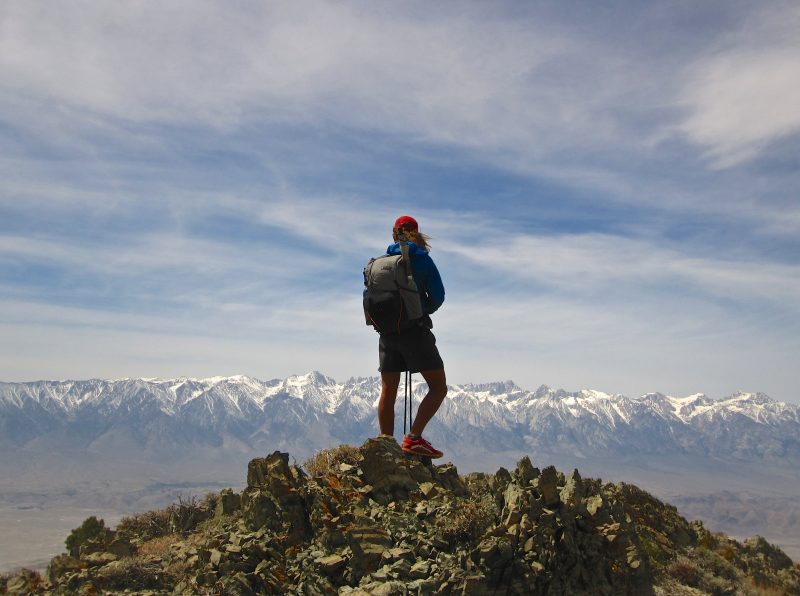
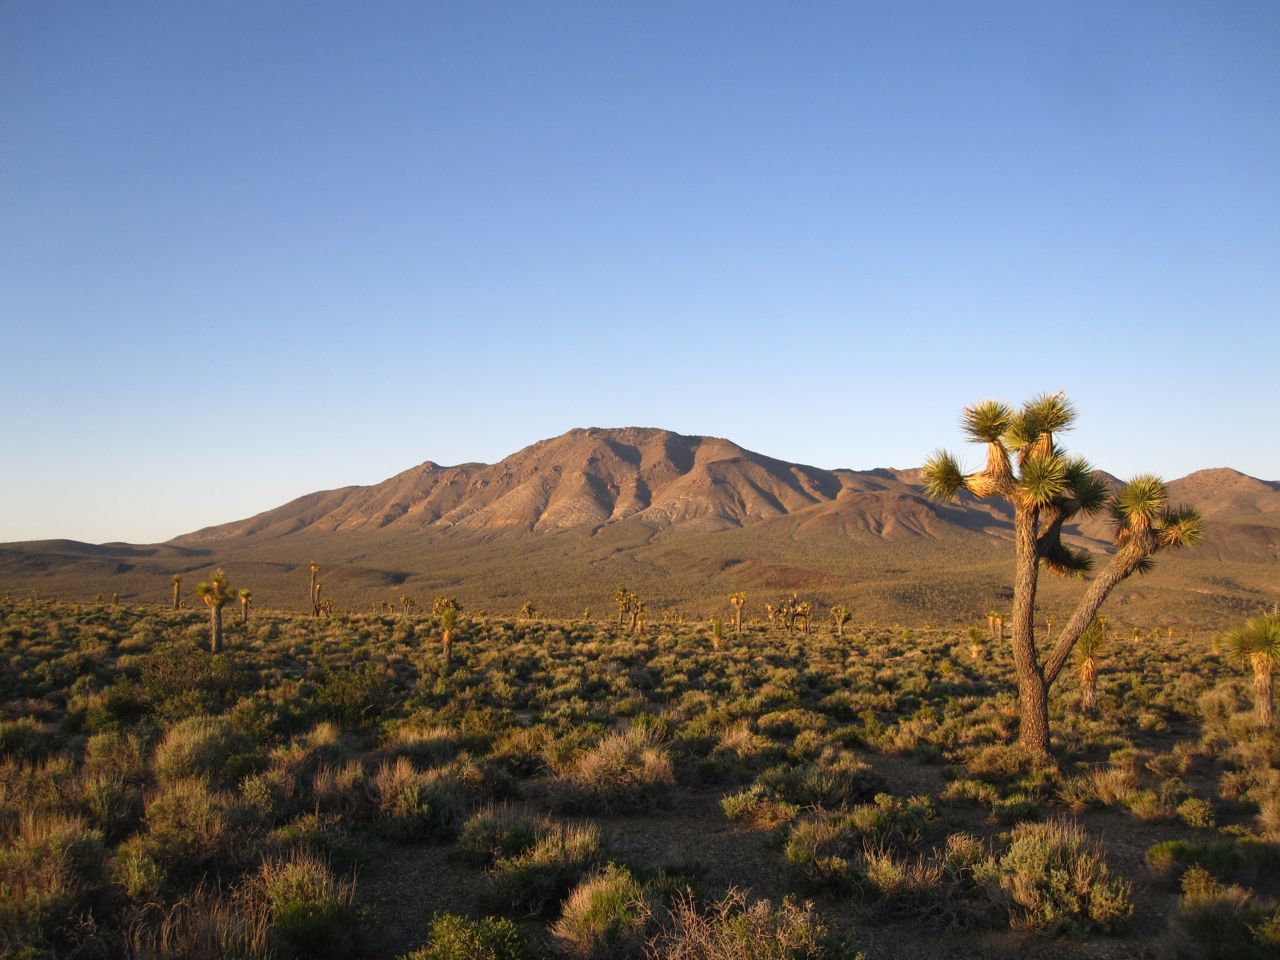
Joshua “Bobcat” Stacy looking out from the Inyos Mountains.
Distance: 135 miles (217 km)
Avg. Time: 6 – 7 days
Difficulty Level: Challenging
Start / Finish:
- Badwater Basin, Death Valley, CA.
- Summit of Mount Whitney (Note: At the very least, you will need to hike approximately eight miles back down to Whitney Portal).
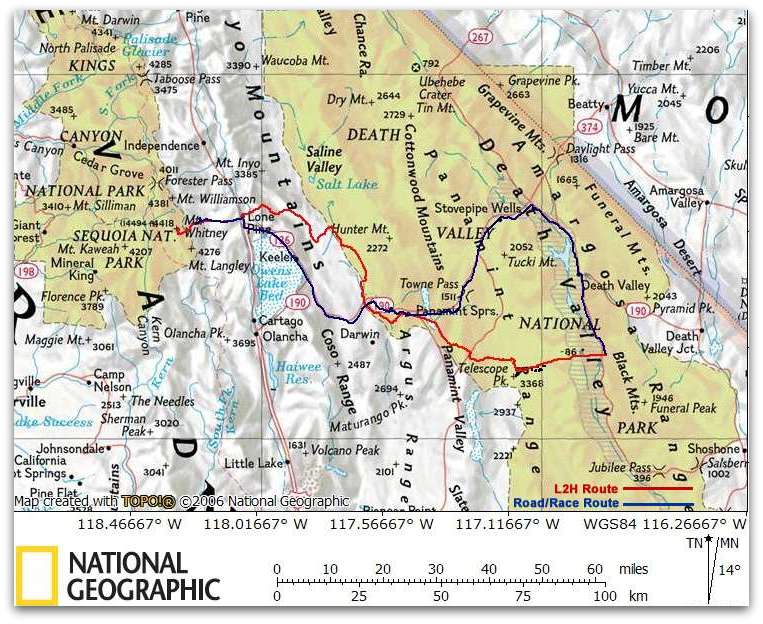
Lowest to Highest Route Overview Map (simblissity.net) | L2H Route in red / Badwater Ultramarathon route in blue.
Getting There & Away:
- No public transport options to the Badwater/Death Valley Terminus.
- From Whitney Portal, you can often hitch a ride back to the town of Lone Pine (11.4 miles). If the pickings look slim, you may need to walk 4 miles down to Lone Pine Campground and/or the whole 11 miles back to town. Motivated by the thought of a celebratory pizza and beers, it shouldn’t take you more than 3 or 4 hours.
- Thanks to the excellent Eastern Sierra Transit, Lone Pine is easily accessed by public transport. If you are bringing your own vehicle, long term parking may be available behind the Chamber of Commerce for a small donation ($20/week).
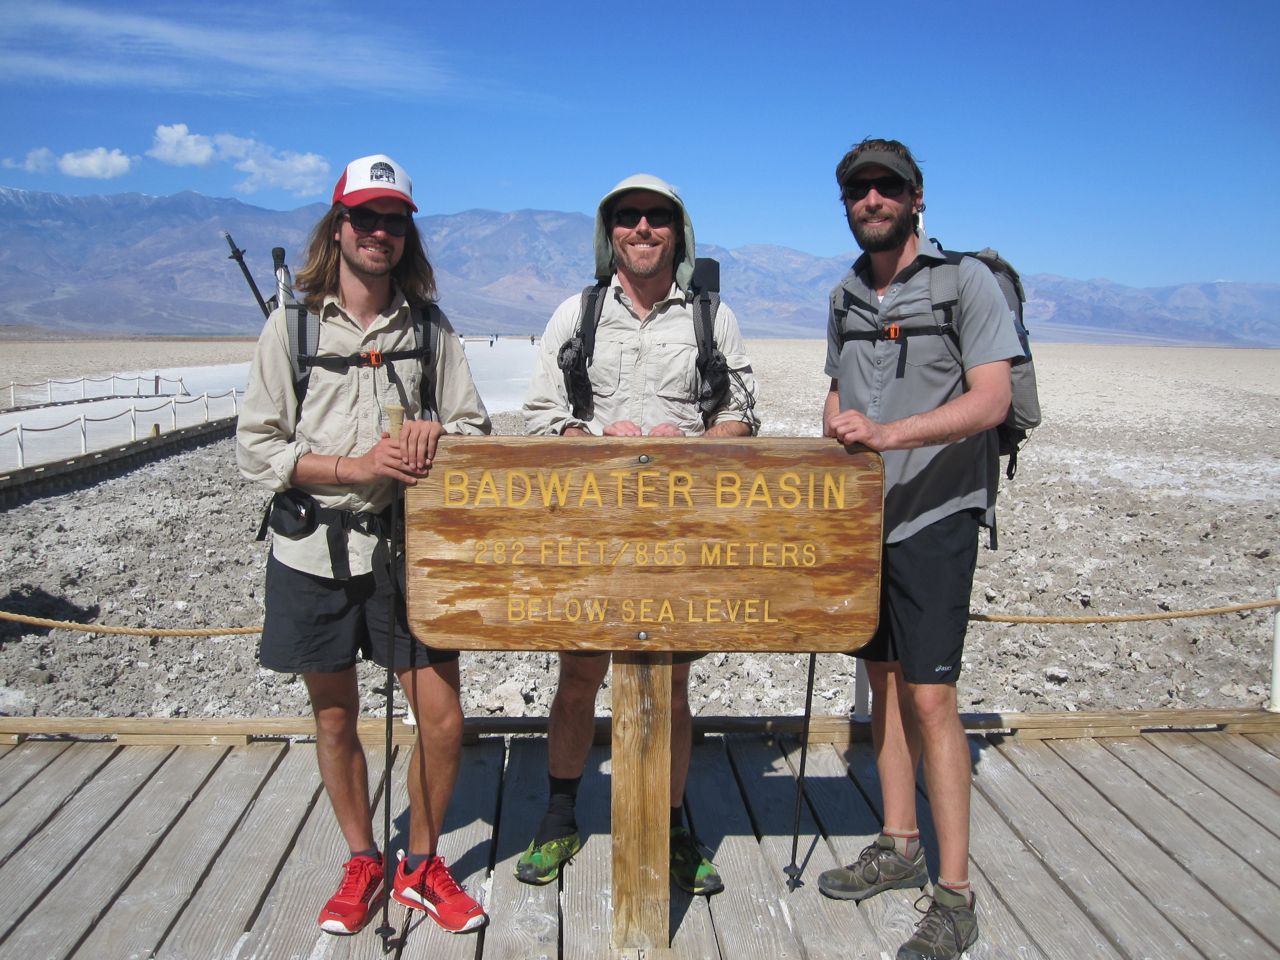
(L to R) Bobcat, Swami and Dirtmonger – Start of the L2H at Badwater Basin.
Season:
- In an average weather year (not sure how many of these California have had in recent times), September to mid-October represents your best bet for thru-hiking the L2H. Desert temperatures have cooled and the big snows have yet to arrive in the High Sierra.
- Depending on the snow levels and mountain experience of the aspirant, the L2H can also be done in the Spring. When hiking at this time, even during a very low snow year, you will need to take an ice axe and traction devices (i.e. crampons or microspikes).
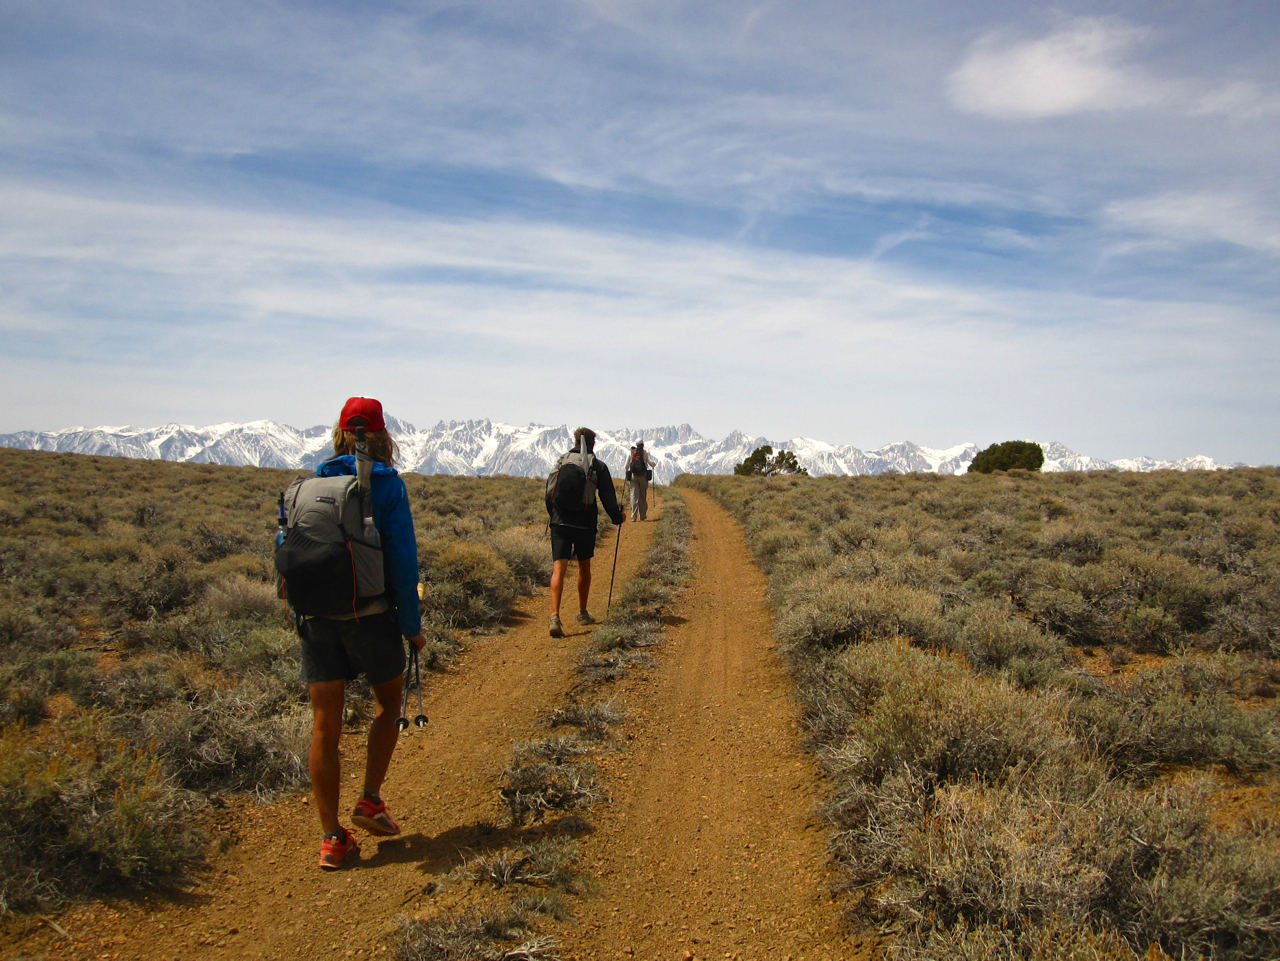
Bobcat heading back down to Whitney Portal.
Origins:
- The L2H is the brainchild of Brett “Blisterfree” Tucker. Due to his uncanny knack for sniffing out water sources in remote arid areas, Tucker is also known as the “The Water Whisperer.” Other routes Brett has created include the Grand Enchantment Trail, Sky Islands Traverse and the Northern New Mexico Loop.
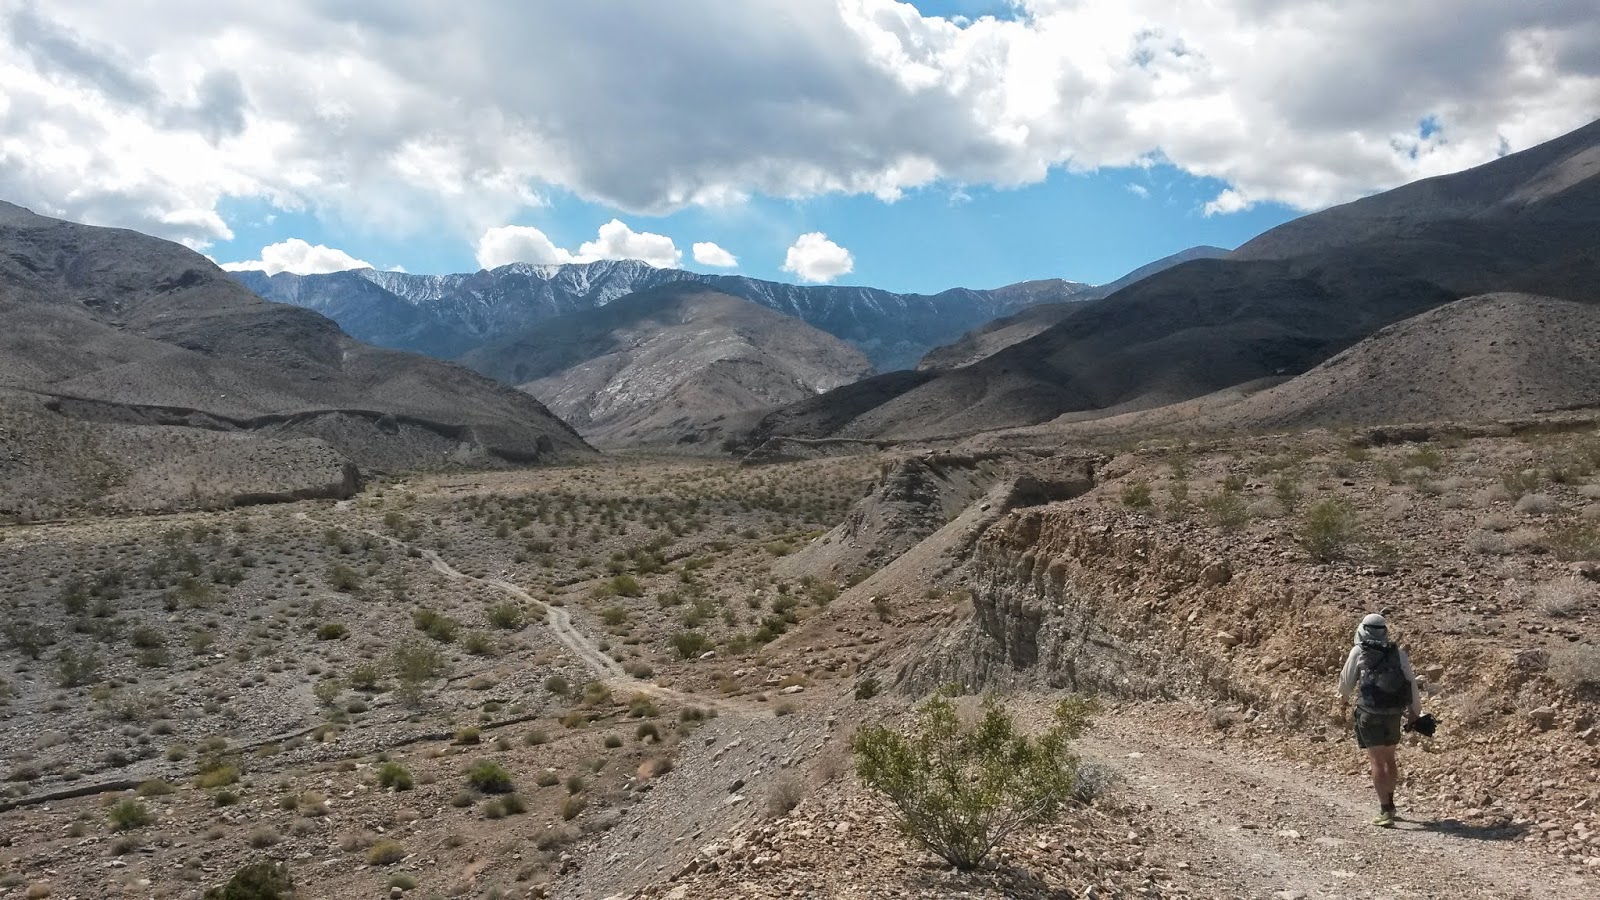
Late afternoon ramble along the deserted Saline Valley road.
Maps, Permits and Online Information:
- One Stop Planning Shop: Trip planning for this route is simple. Go to the Lowest to Highest page on Tucker’s Simblissity.net website. That’s it. As of July, 2018, the Lowest to Highest Bundle will set you back US$9.95. This includes annotated topo maps, elevation profiles, resupply and water information, GPS tracks and waypoints, etc. Very good value considering all of the information provided.
- Permits: A permit is needed to summit Mt.Whitney. As L2H aspirants will most likely be hiking outside of peak season (i.e. July/August), these can be attained once you arrive in Lone Pine at the InterAgency Visitor Center, situated 1.5 miles south of town. Click here for more details.
- Tips & Trip Reports from L2H alumni: Dirtmonger (2014), Bobcat (2014), Lady on a Rock (2015), Carrot Quinn (2014) and Buck-30 L2H Planning Notes (2016)
- L2H Youtube videos: Tim Bloemendaal (2017); Christy Rosander / Lady on a Rock (2015); David Halterman (2016), John Amorosano (2015).
(L to R) Bobcat, Dirtmonger and Malto striding across the Inyos mountains.
Resupply:
- Options: If you aren’t keen on carrying all your provisions from beginning to end, there are two resupply options – Panamint Springs and Lone Pine. 1. Panamint Springs Resort (50 mile mark): Consists of a small store, restaurant and motel/campground. It may be possible to send a resupply package (UPS only); call beforehand to confirm (775 482 7680). In regards to what’s on offer in the store, pickings are both slim and expensive; 2. Lone Pine (110 mile mark): Full service town. Grocery stores, restaurants and accommodation.
- Resupply Strategy: From a practical perspective, the easiest strategy is to carry all that you need from Badwater to get you through to Lone Pine. Subtract the equivalent of two or three meals in food weight, which you can eat and/or pack out from the Panamint restaurant and shop. Once you arrive at Lone Pine, purchase what you need for the final stretch to Whitney.
- Restaurants: Considering it’s location in the middle of Bumscratch, CA, I thought the food at the Panamint Springs restaurant was top notch. Loads of options In Lone Pine. We ate a great breakfast at the Alabama Hills Cafe, and enjoyed beers and a celebratory post-hike feast at the Pizza Factory.
Crossing Panamint Valley at sunset.
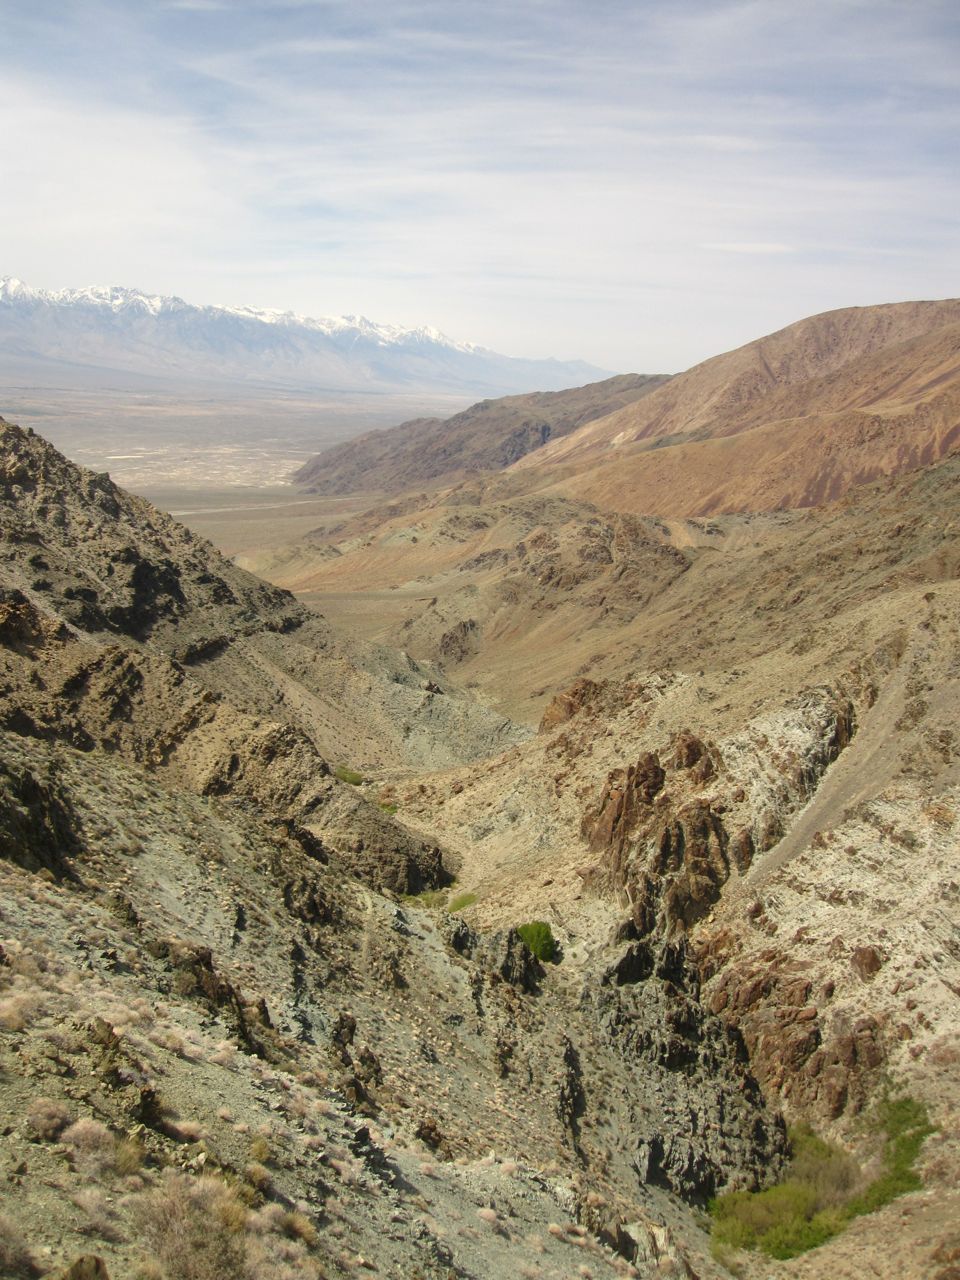
Long John canyon.
Hydration:
- Current Water Conditions: The water situation on this hike can vary dramatically from season to season and from year to year. Prior to heading out, be sure to contact Furnace Creek Visitor’s Centre (760-7863200) for up-to-date information on the H2O front.
- Overview: Hydration is the key consideration for the first 110 miles of the L2H (i.e. until you hit the town of Lone Pine). Because of the dearth, and sometime unreliable nature of sources on the L2H, most thru hikers opt to cache water along the way. For a detailed look at water sources and caching options on the L2H, see Tucker’s, Lowest to Highest Information page. Note that it is sometimes possible to obtain water from the caretaker at Cerro Gordo Ghost Town at the 87 mile mark, however, this should not be relied upon.
- What did I personally do in regards to caching?: My friends and I stashed a water cache at the 68 mile mark of the Saline Valley Rd. If I were to do the L2H again I probably wouldn’t cache, but if I did, I’d go with a spot a little further along Saline Valley Rd (i.e. say the 74/75 mile mark), thus cutting down the distance of the dry stretch between China Garden Spring and Long John Canyon or Lone Pine.
- Pack out your cache: Be sure to pack out all of the water jugs/bottles from your cache. Additionally, please don’t leave behind water for future L2H hikers. As of 2018, the L2H still receives relatively little traffic, and anyone that decides to tackle this hike should be completely self-sufficient.
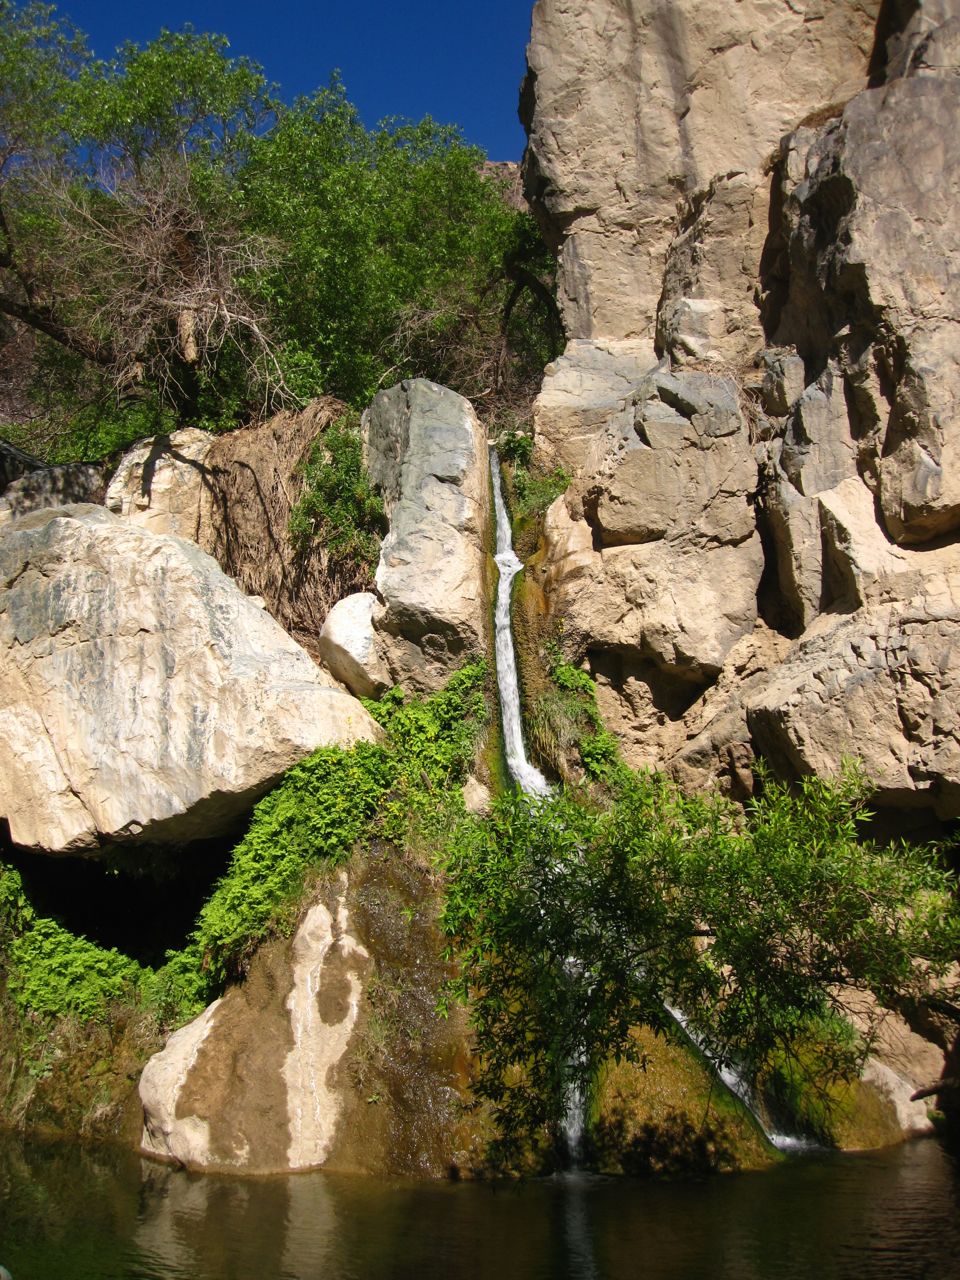
Small cascade adjacent to Darwin Falls.
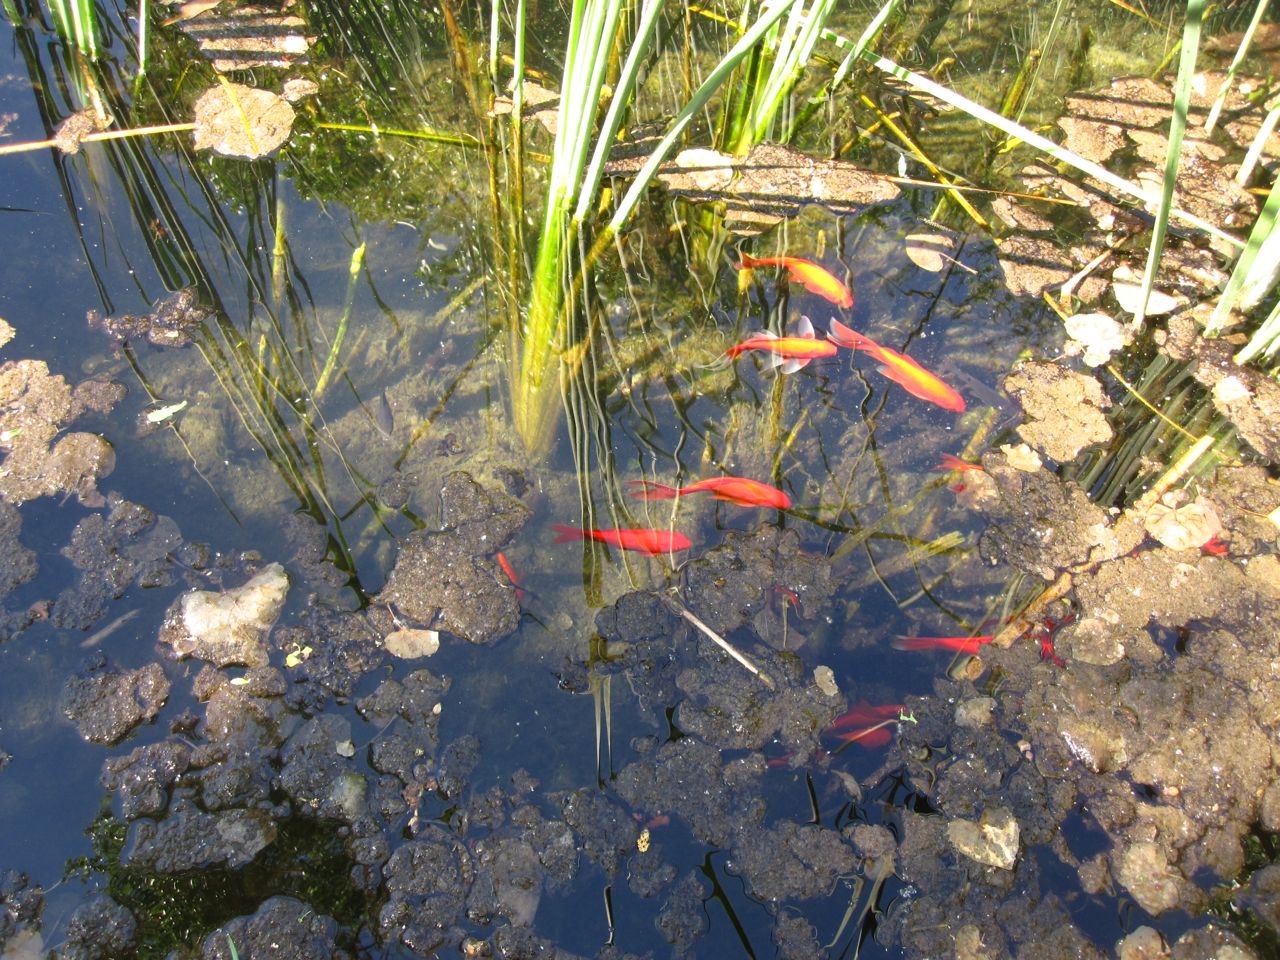
China Garden Spring
Route / Conditions:
- Terrain: The Lowest to Highest Route is an approximately 135 mile journey that takes the hiker from salt pans to snowy peaks via a combination of trails, lightly used 4WD tracks and cross-country travel. For a relatively short hike, the geographic diversity is striking.
- Elevation: During it’s course, the L2H passes up and over two mountain ranges (i.e. the Panamints and the Inyos) before reaching its spectacular finale at the summit of Mount Whitney. All told there is some 33,021 ft. plus of elevation gain and 20,780 ft. of loss.
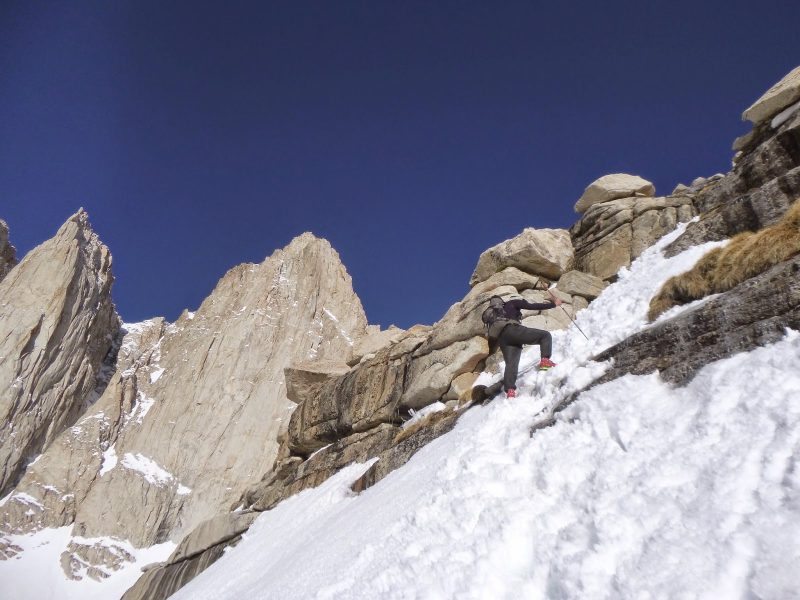
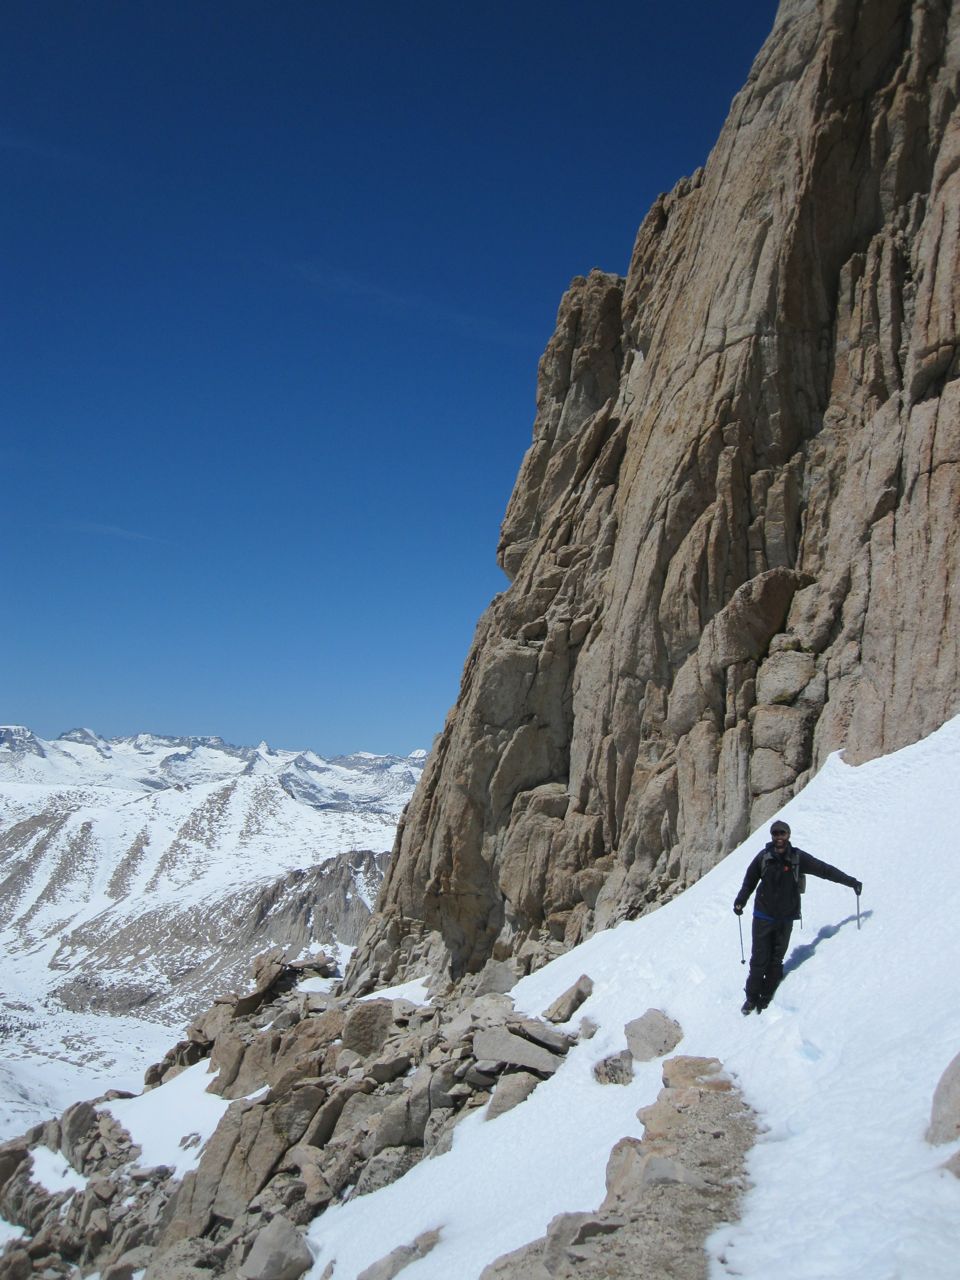
- Route Choices: My friends and I took the Mountaineer’s route up to the summit of Whitney. If conditions are favorable and you have the necessary equipment and skills, I highly recommend taking this option. Another cool side trip (which we didn’t take because of the snow) is to the top of Telescope Peak.
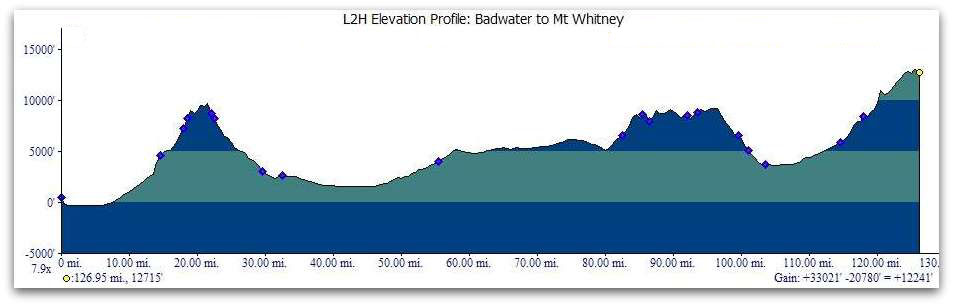
Elevation Chart for the Lowest to Highest Route (simblissity.net)
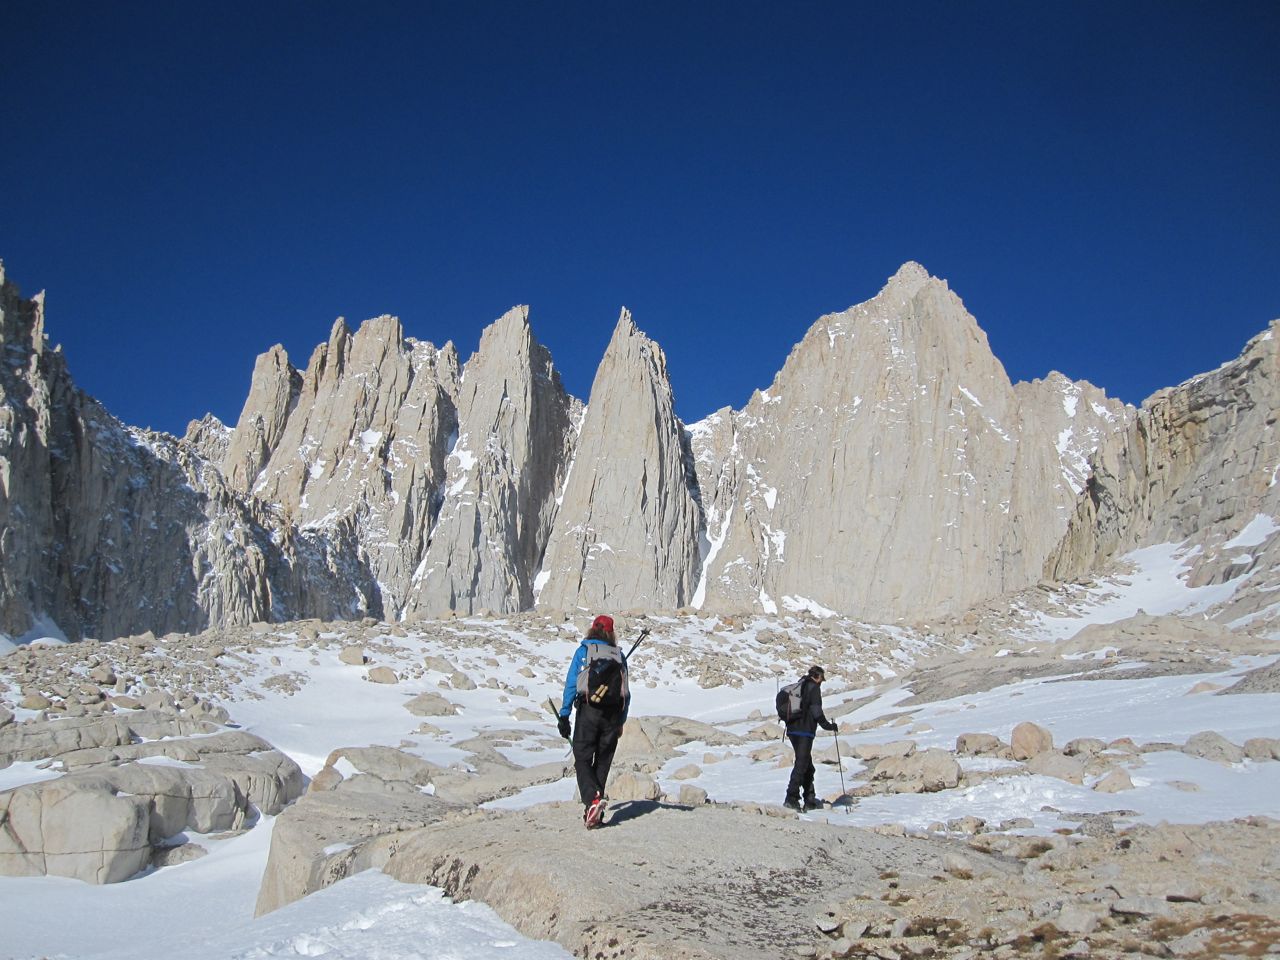
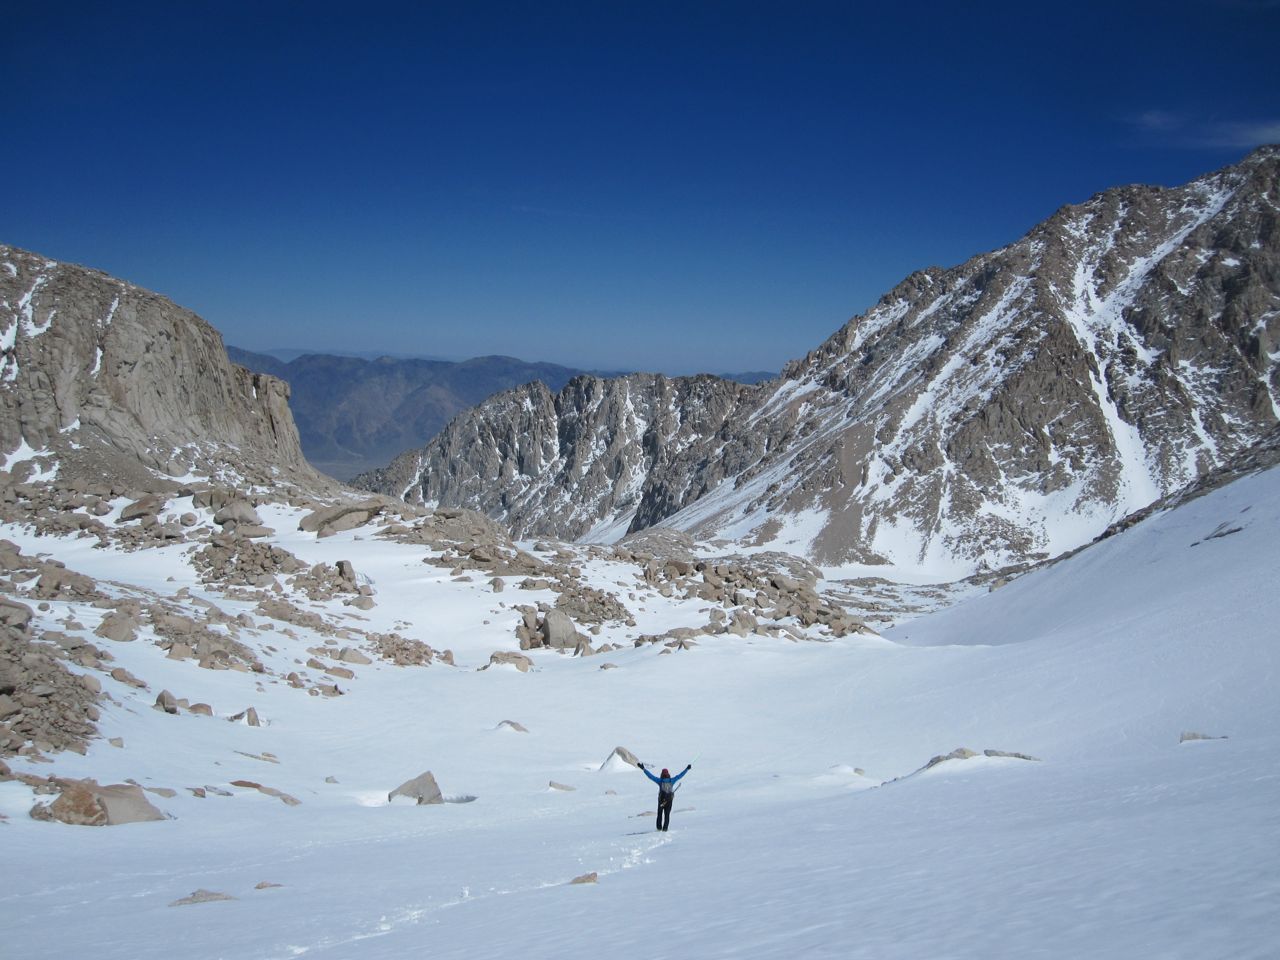
An amphitheatre of granite peaks | The final approach to the Mountaineer’s Route up Mt.Whitney.
Final push to the Whitney summit (photo by Joshua “Bobcat” Stacy).
- Historical Sites: Apart from the natural wonders of the desert and alpine zones, one of the highlights of the L2H is the historical sites encountered in the Inyos mountains. Among these is the ghost town of Cerro Gordo. A major silver center in the 1860’s, today Cerro Gordo has a semi-permanent population of 1 (no, I didn’t forget any zeros). Drop in and say hello. A short time after Cerro Gordo, hikers will encounter the ruins of the Saline Valley salt tram, an aerial electric tramway that rose 7,600 feet from the floor of the Saline Valley to the crest of the Inyo Range. It then descended 5,100 feet on the other side to link up with the narrow gauge railroad terminal at Tramway near Keeler. The salt tram was established in 1911, covered a total distance of 13.5 miles, and eventually ceased operations in 1933.
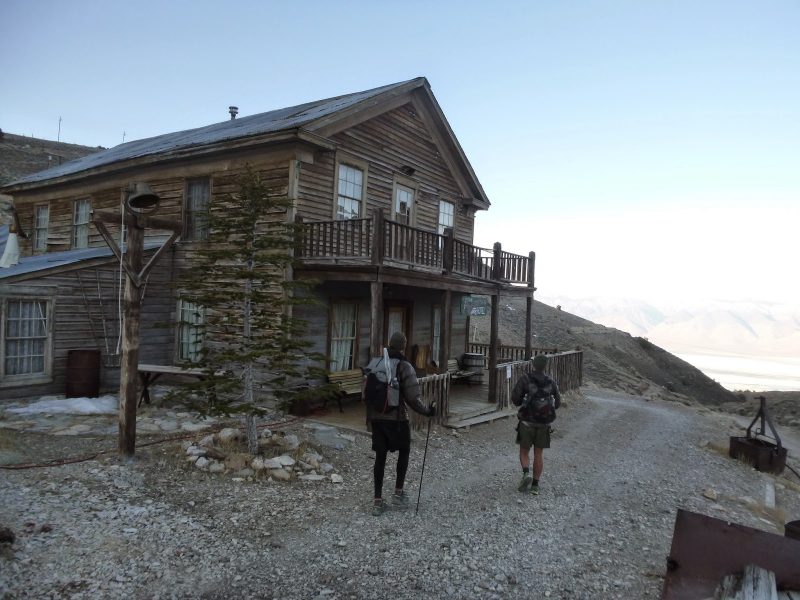
Early morning arrival in Cerro Gordo ghost town (photo by Joshua Stacy).
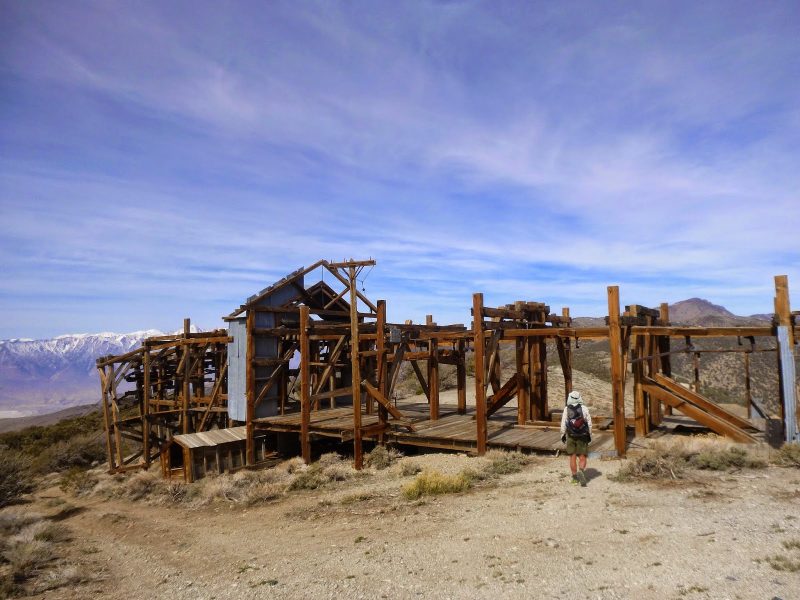
Ruins of the Saline Valley salt tram (photo by Joshua “Bobcat” Stacy).
- Temperatures: Death Valley is the hottest and driest place in North America. Mount Whitney is a 14,000 ft plus peak. Be prepared for scorching hot to below freezing conditions – all in the space of five to eight days. (Fun Fact – On July 10, 1913, an air temperature of 134°F (56.7°C) was recorded at Badwater Basin, the starting point of the L2H. More than a century later it remains the hottest on record).
- How difficult is the L2H?: It’s all relative to the conditions encountered and the experience of the hiker asking the question. In short, there are some toughish climbs, long water hauls, tricky terrain and potentially extreme temperatures. Other than that it’s really quite easy ;).
Dirtmonger on the descent from the summit back to Whitney Portal.
Cruisy midday stretch after leaving Tuber canyon.
L2H Tips & Musings
- Start Early, Hike Late, Carry Less: The more distance you cover during the cooler times of the day (i.e. early morning / late afternoon / early evening), the less water you will need to carry. No small consideration when you are looking at potentially 50 mile plus waterless stretch between China Garden Spring and Lone Pine. Click here more tips on hiking in hot, arid environments.
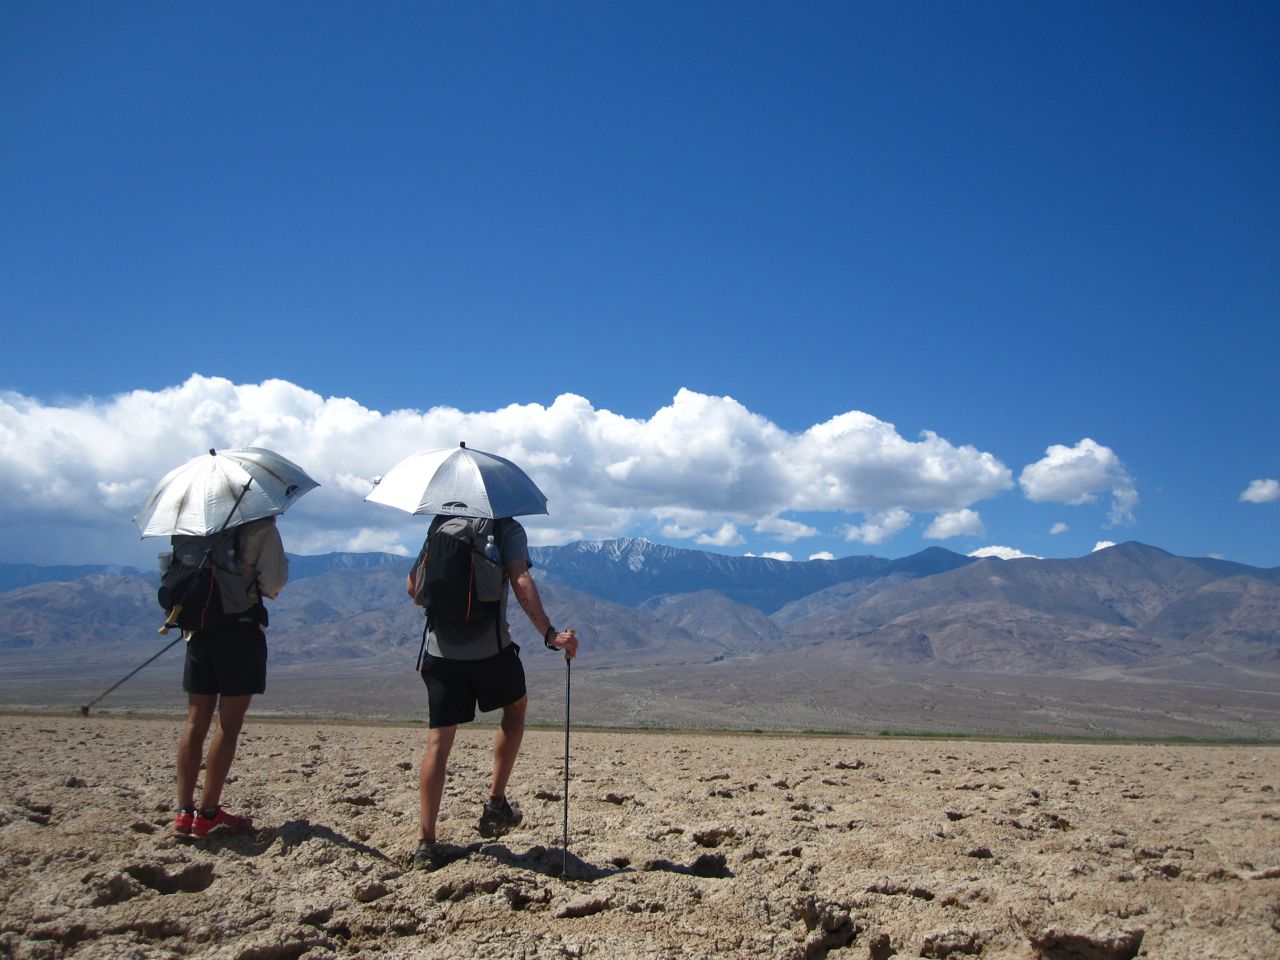
- Take an Umbrella: There isn’t much in the way of shade on the L2H. If you are ever going to take an umbrella on a backpacking trip, this should be the hike. Indeed, Malto was the only one of the four of us that didn’t carry a parasol, and the day after finishing the trip he promptly ordered one online.
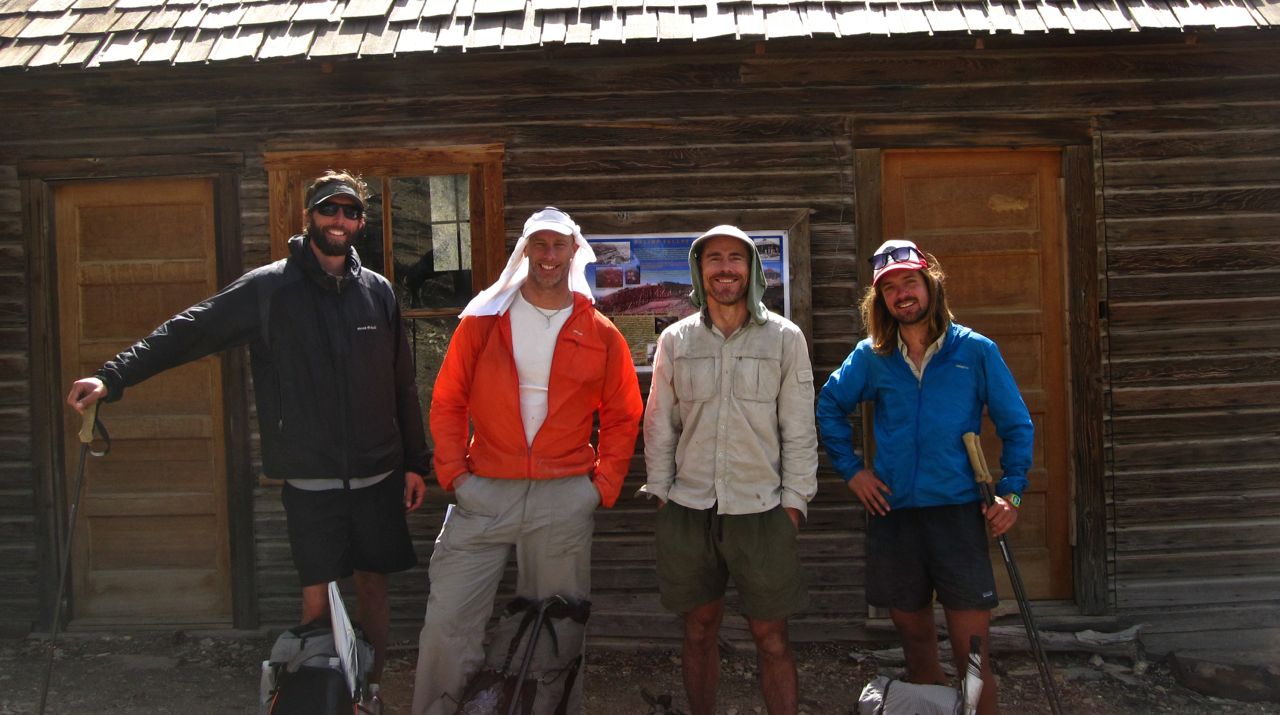
- Good Company: From a personal perspective, the route from Death Valley to Whitney was the first time in many years that I had trekked for an extended period with more than one person. It turned out to be a great experience. My three hiking companions, Dirtmonger, Bobcat and Malto, all hiked in a similar style to myself, and the entire trip was marked by an easy going atmosphere in which the hours flew by. Thanks guys for helping to make a wonderful hike even better!
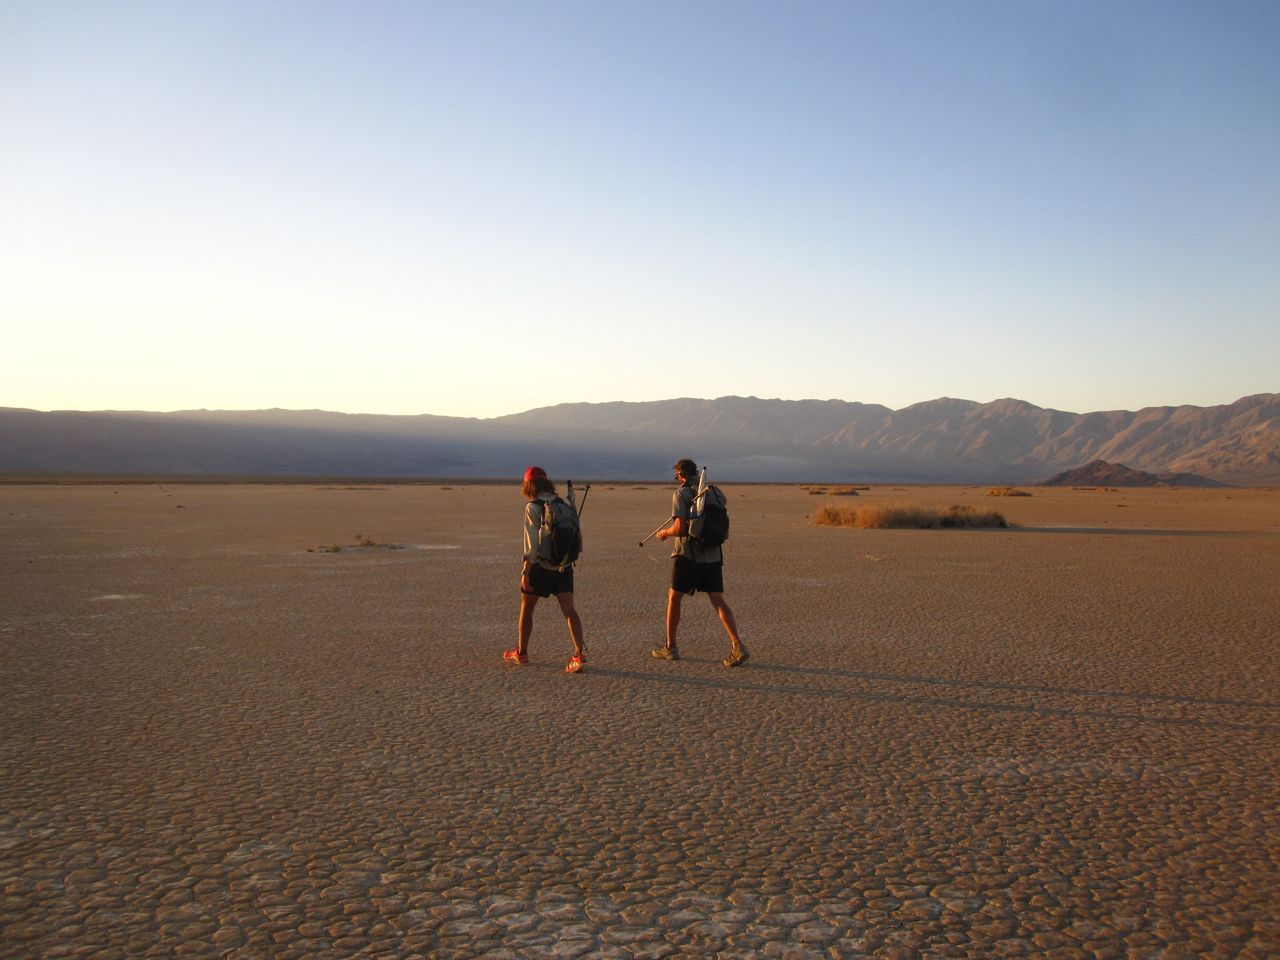
(L to R) Bobcat and Dirtmonger crossing Death Valley.
(L to R) DM, Malto, Swami and Bobcat.
Lowest to Highest Gear List
The gear I’d likely carry if I was to hike the L2H again in 2019:
| ITEM | WT. (OZ) | SUB (oz) | SUB (kg) | COMMENTS |
| BACKPACK | ||||
| MLD Burn | 14 | Frameless, simple design, slim profile. | ||
| Pack Liner (Trash Compactor Bag) | 2 | Cheap & effective | ||
| 16 | 0.45 | |||
| SHELTER | ||||
| MLD Cuben Fiber Poncho (includes guylines – change out for Kelty Triptease) | 8 | Shelter, Rain Gear, Pack Cover / 9′ x 5.2′ (front) x 4.6′ (rear) / Good UL option for not-so-wet and not-so-brushy L2H. | ||
| Stakes – Mix of sizes & styles (8) | 2.4 | |||
| 10.4 | 0.29 | |||
| SLEEPING SYSTEM | ||||
| Pad – Thermarest NeoAir XLite (Sm) | 8 | Very comfy / Doubles as makeshift framesheet for pack / Put feet on backpack when sleeping. | ||
| Quilt – Katabatic Palisade 30 | 18.4 | Conservatively rated 30°F / Best quilts/bags I have used. | ||
| Bivy – Katabatic Bristlecone Bivy | 7 | Adds 5 – 8° warmth / Like a wind shirt for quilt / On the L2H I’d likely cowboy camp every night, and the bivy negates the need for a ground sheet. | ||
| 33.4 | 0.95 | |||
| KITCHEN | ||||
| LokSak 20×12 (Food Bag) | 1.2 | Holds up to 6 days food / Seal usually start to go after about 6 weeks of regular use. | ||
| Gatorade Powder Container | 1.8 | Rehydrating vessel of choice for last decade when going stoveless. | ||
| Titanium Spork | 0.3 | Top end wrapped in orange tape so I won’t lose it. | ||
| Bic Lighter | 0.2 | |||
| SmartWater Bottles (2) | 2.6 | |||
| Platypus Hydration Bladder (2 LT) (2) | 2.4 | I wouldn’t cache if I was to do the L2H again. Instead I’d take 6 liters of carrying capacity between bottles and bladders. | ||
| 8.5 | 0.24 | |||
| FIRST AID / HYGIENE | ||||
| Sunscreen (repackaged in tiny btle.) | ||||
| Hand Sanitizer (repackaged in dropper btle.) | I haven’t had a case of the backcountry trots since 1999. I think a big reason is diligent use of hand sanitizer. | |||
| Aquamira (repackaged in dropper btles.) | Purification method of choice for man years. | |||
| Mini Toothbrush | ||||
| Toothpaste (mini tube) | ||||
| Dental Floss | Doubles as sewing thread | |||
| Antiseptic Wipes (2) | Clean cuts / wounds | |||
| Gauze | ||||
| Triple Antibiotic Cream (tiny tube) | ||||
| 3M Micropore Medical Tape | Breathable, paper tape / Adheres well. | |||
| Ibuprofun (6) | ||||
| Sewing Needle | One armed blind people can sew better than I can. | |||
| Duct Tape, Mini Tube Super Glue (repairs) | To compensate for lack of sewing skills. | |||
| 4 | 0.11 | |||
| CLOTHES | ||||
| Wind Pants – Montbell Tachyon Anorak | 1.9 | |||
| Wind Shirt – Montbell Tachyon Anorak | 1.9 | (Note: As of 2018 no longer made. Replaced by slightly heavier Tachyon Parka. Same jacket, but with a full zipper). | ||
| Insulation – Montbell Superior Down Parka | 7.3 | Very warm for the weight / Prefer down to synthetic insulation for cold and dry environs. | ||
| Extra Socks – Smartwool or REI merino wool liners | 1.6 | |||
| Dirty Girl Gaiters | 1.3 | Handy for keeping out trail dirt during desert sections. | ||
| Bandana | 0.5 | Towel, neck/face protection, condensation wipe, convenience store holdups if low on cash. | ||
| Liner gloves | 1 | Use extra socks as mittens when temps dictate. | ||
| Warm Hat – Montbell Chameece Beanie | 1 | Great beanie / Stretchy, not too thick. | ||
| 16.5 | 0.47 | |||
| MISCELLANEOUS | ||||
| Phone – Samsung Galaxy S7 | 5.3 | Photos, videos, journalling, backup light. | ||
| Stuff sacks – HMG Cuben Fiber (2) | 2.4 | |||
| Montbell Power Head Lamp | 2 | Four settings, pretty good battery life | 160 Lumens max. | ||
| Wallet/Credit Cards/Drivers License | 0.7 | Used thin plastic card holder as wallet | ||
| Swiss Army Classic | 1.3 | |||
| Compass – Suunto M-2 | 1.2 | Adjustable Declination | Compass of choice for many years (no longer made – will pick up a Suunto M-3 Global next). | ||
| Small pen | 0.3 | |||
| Map Bag – Quart Size Ziploc | 0.2 | Keeps maps clean, dry & organized. | ||
| 13.4 | 0.38 | |||
| BASE WEIGHT | TOTAL | 6.39 lb | 2.90 kg | |
| ITEMS WORN | ||||
| Shorts – Patagonia Baggies | 6.8 | Thumbs up / Replaced long-time favourites, Macpac Cross Terrains, in 2016. | ||
| Base layer – REI Sahara Shirt | 7.8 | |||
| Hat – Adapt-a-cap | 3.0 | |||
| Shoes – Brooks Cascadia 12 (or 13) | 23.6 | |||
| Socks – REI Merino Wool liners | 1.6 | |||
| Dirty Girl Gaiters | 1.2 | |||
| Timex Ironman Watch | 1.3 | Cheap, durable, light, multiple alarms | ||
| Sunglasses | 1.2 | Polarized lenses, 100% UV protection, wrap around. | ||
| 46.5 | 1.32 | |||
| TOTAL WEIGHT | 9.37 lb | 4.25 kg | ||
| EXTRA GEAR FOR SNOW (if needed) | ||||
| Ice Axe – CAMP Corsa 50 | 7.2 | |||
| Traction – Kathoola Microspikes | 13.1 |
Disclosure: This post contains some affiliate links, which means The Hiking Life receives a small commission if you purchase an item after clicking on one of the links. This comes at no additional cost to the reader, and helps to support the website in its continuing goal to create quality content for backpackers and hikers.
Discover more from The Hiking Life
Subscribe to get the latest posts sent to your email.
GREAT ARTICLE. CLEAR AND CONCISE ! John Amorosano on youtube has a Great Video on this hike!
Thanks for the kind words and the Youtube heads-up. I just added a link to John’s video.
What about the umbrella?
I assume you’re referring to the gear list. Although I’d definitely recommend one for most folks hiking the L2H, personally I could go either way in regards to the umbrella. I took one the last time, but if I hiked the trail again I might not.
Cerro Gordo has been sold as of 7-13-18. Not sure what the new owners will require of through hikers.
Thanks for the update.
What umbrella did you use?
Thanks!
The two guys pictured in the Death Valley umbrella photo used Golite Chrome Domes. I used a Montbell UL Trekking model.
Here’s an interesting article on the height of Mt Whitney https://angeles.sierraclub.org/news/blog/2012/10/climb_highest_mountain_how_high_mt_whitney When I summitted I think it was 14,498′- I’m not able to do extreme hiking, but I love reading your stories, Cam. Thanks for the virtual adventures 🙂
Hi Barbara,
Thanks for the kind words and the link to the Sierra Club article. I didn’t realize there had been so many different takes on Mount Whitney’s height!
Cheers,
Cam
Cam, thanks for the tips. I hope to complete this trail at some point in my future. Question…would/could you mountain bike the trail instead of hiking?
Hey Steve,
You could mountain bike much of the L2H, but there are some sections you’d need to do on foot.
Cheers,
Cam